
Eating well rarely falls apart because you do not know what is healthy. It falls apart at 6 p.m. on a Tuesday, when you are tired, hungry, and staring at an empty fridge. Meal prep fixes that exact moment by making the healthy choice the easy one, decided in advance, waiting in a container.
This guide walks you through meal prep from a true beginner’s starting point. No fancy gadgets, no 30-recipe spreadsheet, just a simple system you can run in a couple of hours and lean on all week.
Why meal prep makes healthy eating easier
The biggest reason to prep is not the food itself. It is the decisions you no longer have to make. Every meal you plan ahead is one less moment where willpower has to win against convenience, and convenience usually wins. When lunch is already made, you eat the lunch.
That single shift quietly improves almost everything else.
It builds consistency. Healthy eating is a numbers game played over weeks, not a perfect day here and there. Having good food ready removes the most common failure points: skipped meals, last-minute takeout, and the vending machine at 3 p.m. Consistency is the thing that actually moves the needle, and prep makes it the default.
It controls portions and calories. When you portion food into containers in advance, you decide how much you will eat while you are calm and full, not while you are ravenous in front of an open bag of chips. That makes calorie control feel almost passive. If you want to go deeper on portioning without obsessing over numbers, How to Count Calories Accurately Without Weighing Every Meal pairs perfectly with a prep habit.
It saves time. Cooking once and eating several times is far more efficient than cooking from scratch every night. You shop once, dirty the kitchen once, and reclaim weekday evenings.
It saves money. Buying ingredients in slightly larger quantities and cooking at home almost always beats the per-meal cost of takeout. Prepped food also means fewer impulse orders when you are too drained to cook.
You do not need to prep every meal to get these wins. Even prepping a few lunches changes your week.
A beginner step-by-step meal prep plan
Here is the whole system in six steps. The first time through, keep it almost boringly simple. You can add variety once the routine feels natural.
1. Choose a few simple recipes
Pick two or three recipes for the week, not seven. Choose dishes that share ingredients and lean on foods you already enjoy, so nothing goes to waste and nothing feels like a chore. “Simple” is the goal: a baked protein, a tray of roasted vegetables, and a pot of grains will carry you a long way.
A good first-week rule: choose recipes with five ingredients or fewer and one main cooking method, like roasting or the stovetop. Save the elaborate stuff for later.
2. Plan your portions
Before you shop, decide roughly how many meals you are making and how big each one should be. A practical starting point is to plan one palm-sized protein, one to two fists of vegetables, and one cupped handful of carbs per meal. Multiply by the number of meals and you know how much to buy and cook.
Thinking in portions now is what keeps the math honest later. It also prevents the classic beginner mistake of cooking a mountain of food with no plan for how it divides.
3. Make a grocery list
Turn your recipes and portions into a single, organized list. Group items by store section, produce, proteins, pantry, so you move through the store quickly and do not forget anything. A complete list means one trip and far fewer impulse buys.
Check your fridge and pantry first. You probably already have some of the basics like oil, rice, or spices.
4. Batch-cook a protein, a vegetable, and a carb
This is the heart of meal prep, and it is simpler than it sounds. Cook in parallel rather than one dish at a time:
- Start the carb. Get rice, quinoa, or potatoes going first since they are mostly hands-off once they are cooking.
- Roast the vegetables. Toss two or three vegetables in a little oil, spread them on a sheet pan, and roast while the carb cooks.
- Cook the protein. Bake, grill, or pan-cook chicken, fish, tofu, lean beef, or eggs. Use a thermometer so you hit a safe internal temperature.
Cooking one protein, one or two vegetables, and one carb in a single session gives you the building blocks for a week of mix-and-match meals. The same chicken and rice can become a grain bowl, a wrap filling, and a stir-fry base, so simple ingredients never feel repetitive.
5. Portion into containers
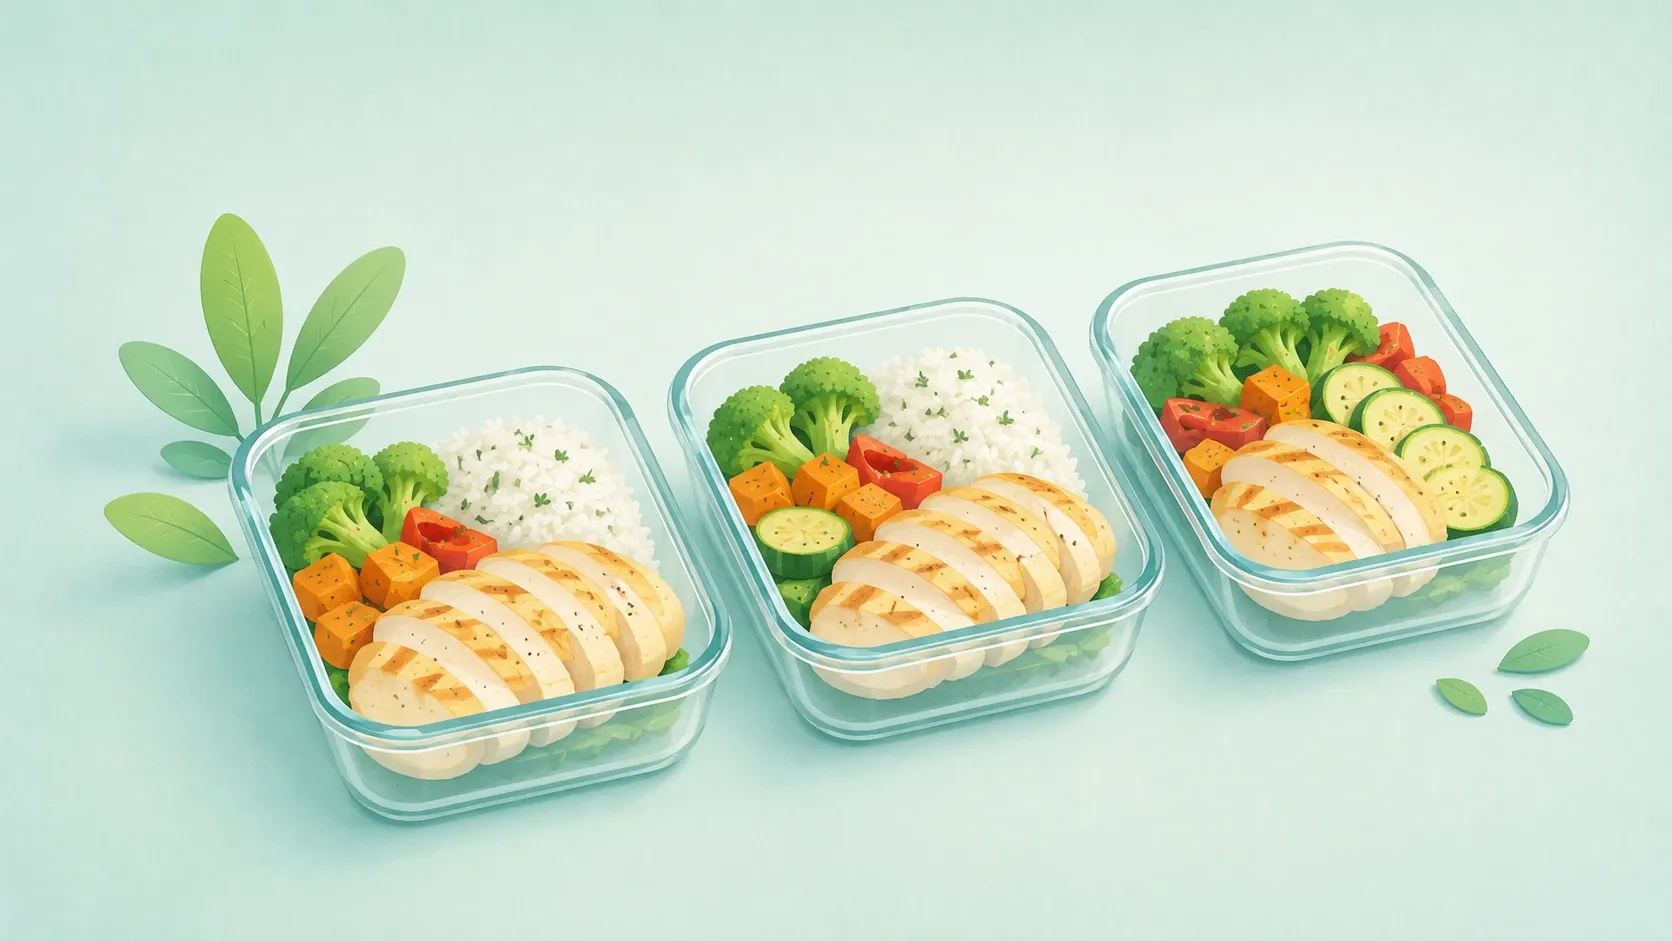
Once everything is cooked, divide it into individual containers while it cools (more on safe timing below). Portioning now, rather than scooping from a big pot all week, is what turns prep into effortless calorie control. Each container is a decision already made.
Use containers you actually like. Clear, stackable, leakproof ones make meals easy to see, grab, and reheat, which means you are more likely to use them.
6. Reheat and eat
During the week, grab a container, reheat it thoroughly, and you are done. Cover food when you reheat it so it warms evenly and stays moist. According to the USDA, leftovers should reach 165 degrees F when reheated, and soups, sauces, and gravies should be brought to a rolling boil (USDA FSIS).
That is the entire loop: plan, shop, batch-cook, portion, reheat. Run it once and the rhythm sticks.
The balanced container framework
You do not need recipes for every meal once you understand how to build a balanced container. Think in four parts, and you can assemble endless combinations from whatever you batch-cooked.
- Protein (about a quarter of the container). A palm-sized serving of chicken, fish, lean beef, eggs, tofu, beans, or lentils. Protein is the most filling macronutrient and helps you hold on to muscle, so do not skimp. For ideas beyond chicken, High-Protein Foods is a handy reference.
- Vegetables (about half). Fill roughly half the container with non-starchy vegetables like broccoli, peppers, zucchini, leafy greens, or green beans. They add fiber, volume, and nutrients for very few calories, which keeps meals satisfying. Many of these double as Low-Calorie Foods That Keep You Full, so they do a lot of the heavy lifting.
- Smart carb (about a quarter). A cupped handful of a fiber-rich carb such as brown rice, quinoa, whole grains, sweet potato, or beans. These give you steady energy and stay satisfying longer than refined options.
- A little fat (a thumb’s worth). A drizzle of olive oil, a few slices of avocado, a sprinkle of nuts or seeds, or a bit of cheese. Fat adds flavor and helps you absorb certain nutrients, just keep the portion modest since it is calorie-dense.
This framework lines up neatly with the USDA’s MyPlate guidance to make half your plate fruits and vegetables and to vary your protein choices (MyPlate). Half veg, a quarter protein, a quarter smart carb, a touch of fat. Once that pattern is second nature, “what’s for lunch” answers itself.
For a wider look at building meals like this every day, the Healthy Eating hub pulls these habits together.
Food safety: the part beginners skip
Prepped food is only a win if it is safe to eat, and this is where good intentions can go sideways. The key idea is the “Danger Zone”: bacteria multiply fastest between 40 degrees F and 140 degrees F, so your job is to move food through that range quickly (USDA FSIS).
Four habits cover almost everything:
- Refrigerate within 2 hours. Get cooked food into the fridge within 2 hours of cooking, or within 1 hour if it is hotter than 90 degrees F where you are. Do not leave the big pot on the counter to cool all afternoon.
- Cool it fast in shallow containers. Dividing food into shallow, individual containers (which you are doing anyway when you portion) helps it chill quickly and evenly.
- Label with the date. A small piece of tape with the cook date takes the guesswork out of “is this still good?”
- Reheat thoroughly. Bring leftovers to 165 degrees F, and bring soups and sauces to a boil, before eating.
Fridge and freezer storage times
Use the table below as your go-to reference. These figures come from the USDA and FoodSafety.gov. Refrigerator times assume a fridge at 40 degrees F or below, and freezer times reflect quality, since food kept frozen at 0 degrees F stays safe indefinitely.
| Food | Refrigerator (40 degrees F) | Freezer (0 degrees F) |
|---|---|---|
| Cooked leftovers (cooked meat, poultry, casseroles) | 3 to 4 days | 3 to 4 months |
| Soups and stews (with veg or meat) | 3 to 4 days | 2 to 3 months |
| Raw chicken or poultry pieces | 1 to 2 days | 9 months |
| Raw ground meat (beef, turkey, chicken) | 1 to 2 days | 3 to 4 months |
| Hard-cooked eggs | 1 week | Does not freeze well |
| Cooked rice or grains | 3 to 4 days | 1 to 2 months |
Source: FoodSafety.gov Cold Food Storage Chart and USDA FSIS.
A simple rule of thumb: if a prepped meal will not be eaten within about 3 to 4 days, freeze it the day you cook it. When in doubt, throw it out, no container is worth a stomach bug.
Keeping your portions and tracking honest
Meal prep gives you a quiet superpower for tracking: you portion food when you are thinking clearly, not when you are starving. That alone makes your logging far more accurate than guessing at a restaurant or eyeballing a heaping plate.
You do not need a food scale to keep portions honest. Hand-based portions work well and travel with you everywhere, and your containers act as a built-in guide. If you want the full method for estimating without weighing, How to Count Calories Accurately Without Weighing Every Meal breaks it down step by step.
When you do want a number, logging a prepped meal is fast. Because you cooked it, you know roughly what went in, and a quick photo can do the rest. A free app like CalcEat lets you snap a picture of your container and get a calorie and macro estimate in seconds, which is exactly the kind of low-effort habit that survives a busy week. The goal is not perfection at any single meal but consistent, close-enough estimates you can actually sustain.
One honest habit pays off the most: log the meal even when the estimate is rough. A blank entry teaches you nothing, while a quick best guess keeps your data useful and your trend visible.
Common beginner mistakes to avoid
Almost everyone hits a few of these early. Knowing them in advance saves a lot of frustration:
- Prepping too much, too soon. Cooking 21 meals for your first week is the fastest way to burn out and bin sad, soggy food. Start with a few meals and grow from there.
- Making it boring. Eating identical meals five days straight gets old fast. Cook versatile basics and change them up with different sauces, spices, and toppings so the same chicken does not feel like the same chicken.
- Forgetting food safety. Leaving food out too long or keeping it past a few days is a real risk, not a technicality. Refrigerate promptly, label dates, and respect the storage table.
- Skimping on vegetables. It is easy to load up on protein and carbs and let veg become an afterthought. Vegetables are where a lot of the fullness, fiber, and nutrients live, so give them half the container.
- Using containers you hate. If meals are annoying to pack, see, or reheat, you will stop using them. Decent containers are a small investment that pays off every single day.
- Underestimating the extras. Cooking oils, dressings, and sauces add up quickly and are easy to forget when you portion and track. Account for the oil in the pan and the drizzle on top.
A sample first prep
Want a concrete starting point? Here is a relaxed, low-stress prep for four lunches that touches every step above.
Shop for: chicken thighs or breasts, a bag of broccoli florets, two bell peppers, a sweet potato or a cup of brown rice, olive oil, salt, pepper, and one sauce you like (think salsa, pesto, or a simple soy-and-ginger mix).
On prep day:
- Start the brown rice, or roast cubed sweet potato, so the carb cooks mostly unattended.
- Toss the broccoli and sliced peppers in a little olive oil, salt, and pepper, and roast them on a sheet pan until tender.
- Season and bake the chicken until it reaches a safe internal temperature, then let it rest and slice it.
- Once everything has cooled a bit, divide it across four containers: a palm of chicken, a generous couple of fists of veg, and a cupped handful of rice or potato in each.
- Add your sauce on the side, or drizzle a thumb’s worth of olive oil, and seal the containers.
- Label each with today’s date and refrigerate within 2 hours. Plan to eat all four within 3 to 4 days, or freeze any you will not reach in time.
That is it. One afternoon, one round of dishes, four meals you do not have to think about.
You are more ready than you think
Meal prep is not about discipline or a perfectly color-coded fridge. It is about making one good set of decisions on a quiet afternoon so your future, busier self has nothing to figure out. Pick a couple of simple recipes, cook a protein, some veg, and a carb, portion them into containers, and store them safely.
Start with this week’s lunches and let the habit prove itself. Once you feel how much easier eating well becomes when the food is already waiting for you, you will wonder how you ever winged it. Keep it simple, keep it safe, and let the routine carry you.